Notes)
- Can start with templates or an image
- Unlock the document by double-clicking the layer if starting with an image by selecting the drop-down menu ‘file’
- All tools are located on the left side, and a small arrow appears when tools are clumped into one
- Use the options mode to adjust paint brush
- Can sharpen or blur a picture with the blur/sharpen tool
- Can adjust the pixels of a picture using the smudge tool
- Use a marquee tool to section off an area you want to edit – this will be the only section affected by edits
- Can adjust the layers – the layer on top will be the layer in front
- You can lock a layer to restrict editing on that layer
- Vector shapes and text aren’t rendered into pixels – editing can be done without it losing quality as you zoom in
- You can adjust brightness, contracts, threshold, etc. through the adjustment tab
- To add blur, shadow, etc, right-click a layer and press blending options
- To join multiple layers, hold shift and click them and press convert to small object
- Rasterizing layer is permanent
Questions)
- How do you zoom into the image?
- How can I use photoshop to effectively brighten an image like the one below, without overdoing it?
Test Image)

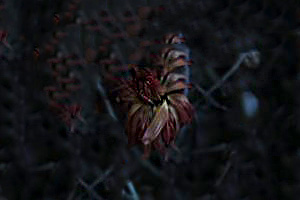 The left is the original photo, the right is the edited photo.